Friday, April 22, 2011

NetBeans IDE 7.0 released


The NetBeans IDE is an award-winning integrated development environment available for Windows, Mac, Linux, and Solaris. It enables developers to rapidly create web, enterprise, desktop, and mobile applications using the Java platform, as well as PHP, JavaScript and Ajax, Groovy and Grails, and C/C++.

The New Version of the NetBeans is out with better efficiency and quality.
You can download your copy of NetBeans from official NetBeans site.

Some of the Interesting and new Highlighting features of NetBeans are : 

JDK 7
  • Project Coin support
  • Editor enhancements: Code completion, hints
WebLogic Server

  • Streamlined and faster deployment to WebLogic
  • New server runtime node displaying deployed applications and resources
  • JSF integration with server libraries
Oracle Database

  • Simplified connection wizard
  • Guided installation to JDBC driver
  • Editing and deployment of stored procedures


GlassFish
  • GlassFish 3.1 support
  • Domain restart and log viewer for remote GlassFish
  • Enable and disable deployed applications
Java

  • Maven 3 support
  • JUnit 4.8.2 integration and various JUnit improvements
  • Remote HTTP URLs supported for Javadoc in libraries and Java platforms
  • New improved visual customizer for GridBagLayout
Java EE

  • Improved support for CDI, REST services and Java Persistence
  • New support for Bean Validation
  • Support for JSF component libraries, including bundled PrimeFaces library
  • Improved editing for Expression Language in JSF, including code completion, refactoring and hints


Web Languages
  • HTML5 editing support
  • JSON formatter
PHP
  • Generate PhpDoc
  • Rename refactoring, Safe Delete Refactoring
  • PHP 5.3 - Support for aliases
C/C++

  • Easy import of project from user's existing binary
  • New Project type where user's source files are located on remote system
NetBeans Platform

General
  • Word wrap in Editor
  • Enhanced Profiler integration
  • Less intrusive checking for external changes when switching between the IDE and other programs.

 Download Link : NetBeans download page link

Friday, March 11, 2011

Connecting broadband internet in Open suse 11.3

Hi guys, The new Open Suse 11.3 is awesome. The new open suse is efficient than all its previous versions. It is faster and the new look and feel of the OS makes it more beautiful and tempting to use.

We cannot imagine our world without internet. So we all want to be connected to the world in the new Open Suse.

The steps for connecting are similar to the earlier post of Connecting broadband internet in Open Suse 10.2
But there is slight difference in 11.3.

The procedure for configuring DSL is same as it was in previous post but the software for connecting is changed. Only the name is change and the functionality is similar to the old one.
So in 11.3, instead of kinternet, we have qinternet, the tool for connecting net in open suse.

Yast software manager
 (click to enlarge the image)

All the steps to install qinternet are same as we did for kinternet.
:)


So after installing qinternet, you get the same plug icon in the system tray as it was in previous version. So there is no change in the functionality.


Cheers!!!
have fun with new Open Suse.

Tuesday, January 11, 2011

Connecting Broadband Internet in Open Suse

Open Suse is one of the flavor of the Linux operating system.

This is small tutorial for connecting Broadband internet in Open Suse. For connecting Internet, you need to configure your DSL setting and you will need to install kinternet through yast. In this tutorial, you will find all the steps required for configuration and installation of Kinternet.

Configuring DSL :

  • Launch Yast control center.

  • Go to Network Devices, You will get the following window: 

  •  If you do not have any DSL connections, click on add to create a new connection.

  •  Setup ppp mode to “ppp over Ethernet” and click on next.

  • In providert Name text box, give the desired name for connection ex: connection 1.  
  • Provide you broadband’s username in username text box. If you want kinternet to ask password everytime you connect internet, thn check “always ask for password” otherwise uncheck that checkbox and enter you password and click next button. 

  • After clicking on next button, the system will write all the details onto the disk file. 

  • Now you have successfully configured DSL network settings. Now you need to install kinternet software.
 Installing Kinternet software :

  • Again go to yast software control system.

  
  • Select Software from left column and select “software management” from right hand side. 

  • In search bar, type “kinternet” and click on search.
  • Now check on Kinternet package and click on accept button. The sytem will now install kinternet software. Note : you need to have open suse disk for installing this software. So you will be asked to insert the disk while installation.
  • After installation, you need to start the kinternet service. Right click on desktop and select “run command” option type kinternet and then click on run.

  • After kinternet is started, you will see its icon on task bar.
     
  • Now to connect internet, double click on tht kinternet icon,


  •  You will be asked for the password. Enter you broadband connection’s password and click on ok. Now you are successfully connected to the internet. On successful connection to the internet, the kinternet icon will change to the following :

  • This signifies that you are successfully connected to internet. 

Sunday, January 9, 2011

Net Connection in RedHat

Hi friends, In my previous post, I told you how to connect net in Open SUSE system. In this post I’ll tell you how to connect net in RedHat OS. following steps are needed for connecting net.

  • Goto  system -> administration -> Network Configurations, you will see following window : 
 

In this window you will find the list of Ethernets and connections (if any) . If you do not find any devices here, do add the devices.
  • Now in order to setup dsl settings for broadband connection, click on new.
 

  • Select “xDSL connection” option and click on forward. 


  • Now here in the provider name, enter the desired name. ex : bsnl or connection1
  • Enter the username and password given by ISP. And click  forward.


  • You will be given summary about the connection you configured now. Click on apply to finish the configuration steps.
  • By performing above steps, you have done the required configuration. You need to activate this configuration to connect to the internet.
Now again go to system -> administration -> Network Configurations.


  • Now you will see the list of Ethernet device along with all the connection configurations link.
  • Click on the bsnl connection we configured just now and click on activate to invoke the connection.
  • You will be notified on successful connection.

Enjoy!.. :)

Monday, December 13, 2010

Filing Bugs in Bugzilla

Hi friends,
I Recently tested TS_65_Appisupport_Sanity Test specifications for netbeans 7.0 beta version. While performing these test cases, I encountered few bugs. So inorder to report these bugs to the netbeans developers, we need to enter these bugs to the bugzilla.

Following steps can be taken to report a bug :
  • Login to netbeans site.
  • Go to Enter bug page.
  • Click on appropriate module. For example, since I am testing for api support, i will click on apisupport  link. 
  • Select the appropriate component from the component list. Component specify a NetBeans module in which the error occurred.

  • Then select the version of the netbeans in which bug occurred.
  • Then select the platform and OS.
  • Select the priority of the bug. If u are not sure of the priority of the bug, then select P3.
  • The CC option is optional which is a space-separated list of netbeans.org login names who are notified about subsequent changes of an issue.
  • In summary field, just enter the brief title which shortly describes the type of bug. The summary should be 1 line title and not more than that.
  • Now Enter description of the bug. Description is a detailed description of the problem. The description should possibly include all information needed to reproduce the problem
  •  If you have taken any snap shot of the bug or have log files of the bug, then click on "Add an attachment" button.
  •  browse for the attachment file, enter its brief description and then provide the type of the attachment by selecting one of the 3 radio buttons. If the attachment is Image/ HTML / XML / Binary file then select on "select from list : " radio button and from the combo box, select an appropriate type of attachment.
  •   Click on Commit when done.  :)
Bugs Filed By me :

Useful Tips for Reporting a bug :
  • Always take a snapshot of the bug which may act as a proof of the bug and attach the snap shot while reporting a bug.
  • Mention the link of the test cases : The link of the test cases you followed.
  • Mention the build number of the netbeans IDE.
  • Add [70CAT] in the bug name . This will signify that the bug is filed for the 7.0 version of the IDE.
  • Add lots of information about the bug so that anyone can reproduce that bug.

Thursday, December 9, 2010

WordPress Installation Under Windows

It is always beneficial for installing the wordpress locally under windows. This is useful to prepare your blog easily before you put it live and most important thing is that it can be prepared locally. Another advantage of the same is for making your blog look more beautiful and install more plugins for your blog.
Here I will tell you the steps which will be helpful for you to install wordpress under windows.  For installation you will require different tools such as wordpress and XAMPP server. This setup will hardly require 10 minutes.

  • Get yourself a XAMPP server and download the exe version of it. Double click on the installation and extract it to c drive.


          After extraction, in a dos window, you would be asked for setup, perform that.

    • Once installation is complete, then run XAMPP server, double click xampp-control.exe . It will look like following :

              Start Apache and MySql services by clicking on start button.

    • After starting the services, Click on Admin button (next to Apache’s service start button) select your preferred language.

    • After selection of the language, click on phpMyAdmin(on the left column).


    • In create new database text box, enter wordpress and select utf8_unicode_ci in theMySql connection collation drop down box. Click on create button. Your XAMPP setup is now complete.

    Wordpress Installation :
    • Download Wordpress and extract it under c:\xampplite\htdocs.

    • Make sure that you have a wordpress folder under c:\xampplite\htdocs.  Browse to this folder, searh for a file named wp-config-sample.php. Open it in any text editor and replace the default values by the ones you see under this paragraph. After making changes, save the file


    // ** MySQL settings ** //
    define('DB_NAME', 'wordpress'); // The name of the database
    define('DB_USER', 'root'); // Your MySQL username
    define('DB_PASSWORD', ''); // enter your mysql password, and if you haven’t installed any                          before than do not change anything.
    ('DB_HOST', 'localhost'); // do not change anything here


    • Enter all the details setup during XAMPP installation such as database name, uname and password and then click on submit.
    •   Congratulations you are done with the installation of the wordpress.

    Wednesday, December 1, 2010

    Oracle Netbeans Platform Training

    Oracle conducted NetBeans Platform training on 27th and 28th nov at Infospectrum, nagpur. There were total 17  developers who attended the meet from nagpur, India.

    The training was given by Geertjan Wielenga, Principal Product Manager, Oracle Inc through skype and webex. The training was being conducted simultaneously in India, Canada and TOGO. It was the awesome training we had for two days to get familiar with the netbeans platform.

    I am really thankful to sir Tushar Joshi, founder and leader of NUG nagpur group for organizing this wonderful training and also sir Geertjan Wielenga, who spent his valuable time for this training in-spite of the busy schedule in weekend.

    The day 1 of training was about netbeans platform introduction and architecture with some of the examples. The next day we learned the basics about other apis which can be used in netbeans platform for enhancing the application functionality and also how modular our application can be made using the netbeans.
    This training for me was really awesome. Even though I attended the training late, but whatever i attended was really a great help for me to carry on and explore the platform more. And i understood the concepts told by sir.

    Here you can find the experience of other members on this training.
    Ameya, AtulHrushikesh,


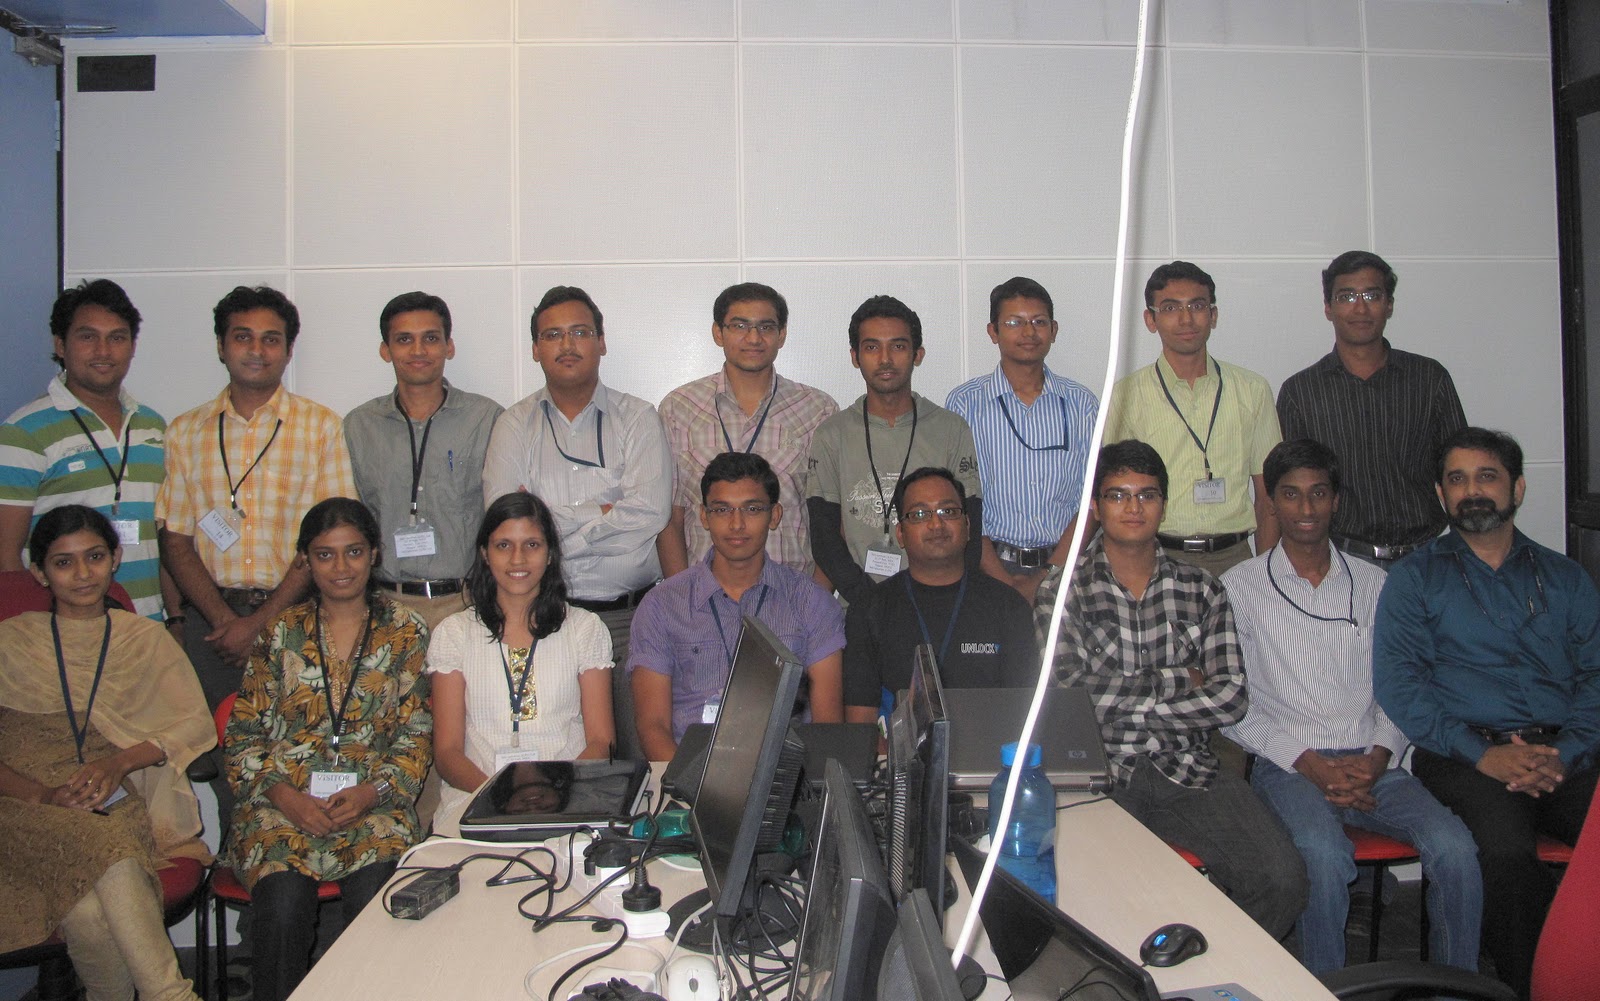
    here are the pics of the training :


    Group Photo


    My next goal is to be a netbeans certified engineer. This can be done by creating a small plugin in the netbeans platform.
    :)

    Guys if you are really passionate about the netbeans platform and want training on this platform,  join NUG Nagpur group and be active on our mailing list.
    Nugnagpur is ready to welcome all the passionate users for the netbeans.